How I Built a Claude Trading Bot Without Writing Code
A step-by-step build of an automated crypto trading bot framework with Claude Code, Cursor and the Hyperliquid testnet, plus the risk guardrails most tutorials skip.
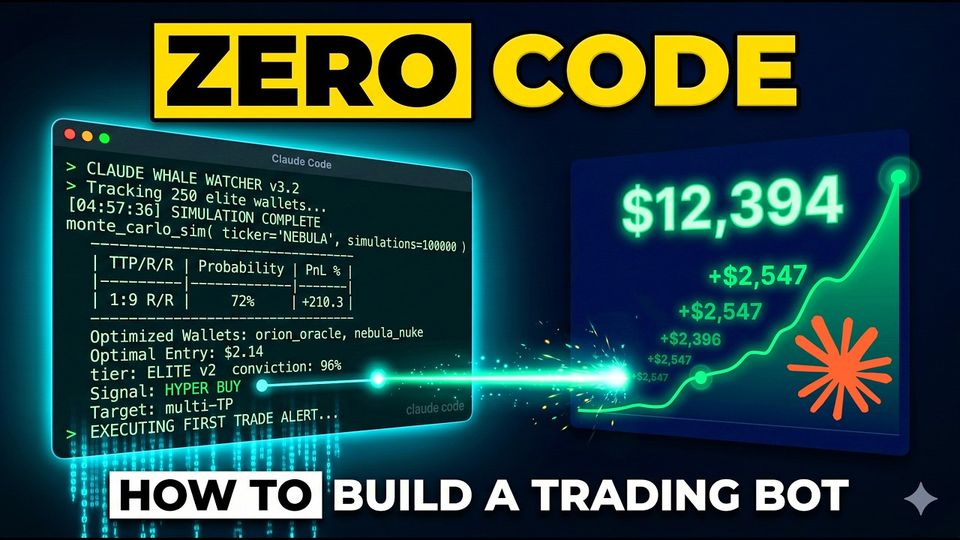
Three years ago, building a trading bot meant learning Python, reading exchange API docs and debugging your own code for weeks. Now Claude Code writes all of it while you read along.
In this build I went from a blank terminal to a bot that pulls live prices, makes decisions and places trades on a testnet. No code written by hand, and no real money at risk.
The tools
- Cursor, the code editor. VS Code works too.
- A paid Claude plan with Claude Code. The free tier won't get you there.
- The Hyperliquid testnet, where the bot trades with $1,000 of mock USDC.
That's it. No special data feeds or paid APIs.
Step 1: Get Claude Code running
Open Cursor and ask its built-in chat how to install Claude Code. It gives you the commands, you run them in Cursor's terminal, and you log in. Once you see the welcome screen with your email, you're ready to build.
Step 2: Set up the testnet
Hyperliquid's testnet has one catch: you need a real account first. Deposit at least $10 of USDC on the main exchange (I used the Arbitrum network), then switch to the testnet and claim your $1,000 of mock USDC.
Use the same wallet for both. If you sign up with email you get a different wallet each time, so I used MetaMask. Then create an API key under More → API.
Step 3: One prompt, and Claude scaffolds the bot
I gave Claude a short brief: build a fully automated crypto trading bot framework in Python that
- connects to the Hyperliquid testnet with the official Python SDK
- uses a placeholder strategy for now
- handles position sizing per trade
- enforces risk limits
- logs every decision it makes
- pulls live prices
Claude asks a few questions as it goes. Approve them, and a few minutes later you have the bot file, an environment file for your keys, a readme and the install commands.
Paste your testnet keys into the environment file, never anywhere public. Even testnet accounts can get drained.
Step 4: Run it
The bot checks the market every 60 seconds. The placeholder strategy only trades when RSI crosses below 30 or above 70, so the first decision was "hold, no action". That's the rules working, not the bot failing.
The part most tutorials skip: risk
One bad trade can wipe out an account if a bot has no guardrails. So I gave Claude a second prompt to add a loss limit: once the bot hits a 5% loss, everything stops. No revenge trades, no spiral.
If you take one thing from this build, take that. A bot without a kill switch isn't automation, it's a liability.
What I learned since
The placeholder strategy was never meant to make money. The point was the framework: a machine you can plug any strategy into and test safely.
Since this video I've run plenty of strategies through setups like this one. Most of them looked great in a backtest and didn't survive live prices. Building the bot turned out to be the easy part. Finding a strategy that holds up, and being honest about the ones that don't, is the real work.
The next step was testing which AI makes the best trading decisions in the first place. I gave four of them the same brief: I Gave 4 AIs $1,000 and 24 Hours.
Why this matters outside trading
Swap "trading bot" for "lead follow-up" or "client intake" and the pattern is the same: clear rules, an AI that does the work, logs for every decision and guardrails for when things go wrong. That's what I build for businesses.